How to Set a Contact Form on My Website?
What You’ll Achieve by the End of This Guide: By following this guide, you will get a clear idea of how to set and test a contact form on your website.
Benefits of Having a Contact Form:
- Improved User Experience: Contact forms allow visitors to easily reach out to you without having to leave your site and provide an alternative to email or phone for those who prefer written communication.
- Increased Engagement: Visitors can quickly and easily send inquiries, and information requests. It can foster a sense of connection and encourage visitors to return to your site.
- Better Lead Generation: Contact forms can collect information from interested visitors, turning them into potential leads. Thus having a centralised contact point simplifies the lead generation process.
- Enhanced Customer Service: Contact forms help you manage and respond to inquiries efficiently.
- Valuable Analytics: Contact forms can provide valuable data on visitor behaviour and engagement. This information can help you refine your marketing efforts and improve your website's effectiveness.
What is a Contact Form?
A contact form is a tool that allows website visitors to send messages directly to the website owner. It's a convenient way for visitors to ask questions, provide feedback, or request information without having to leave the website.
Steps to Set and Test Your Contact Form
- Access Your Website:
- In the Hocoos Dashboard, click on the Edit Website button.

- Locate The Contact Us page:
- In the Website Editor click on the All pages button.

- The sidebar menu with all existing pages will be displayed. Find the Contact Us section and click on it.

Tip: When the site is only created the Contact Us page is created automatically. The Contact form is always located here by default (it is also possible to add this kind of widget on every page you want).
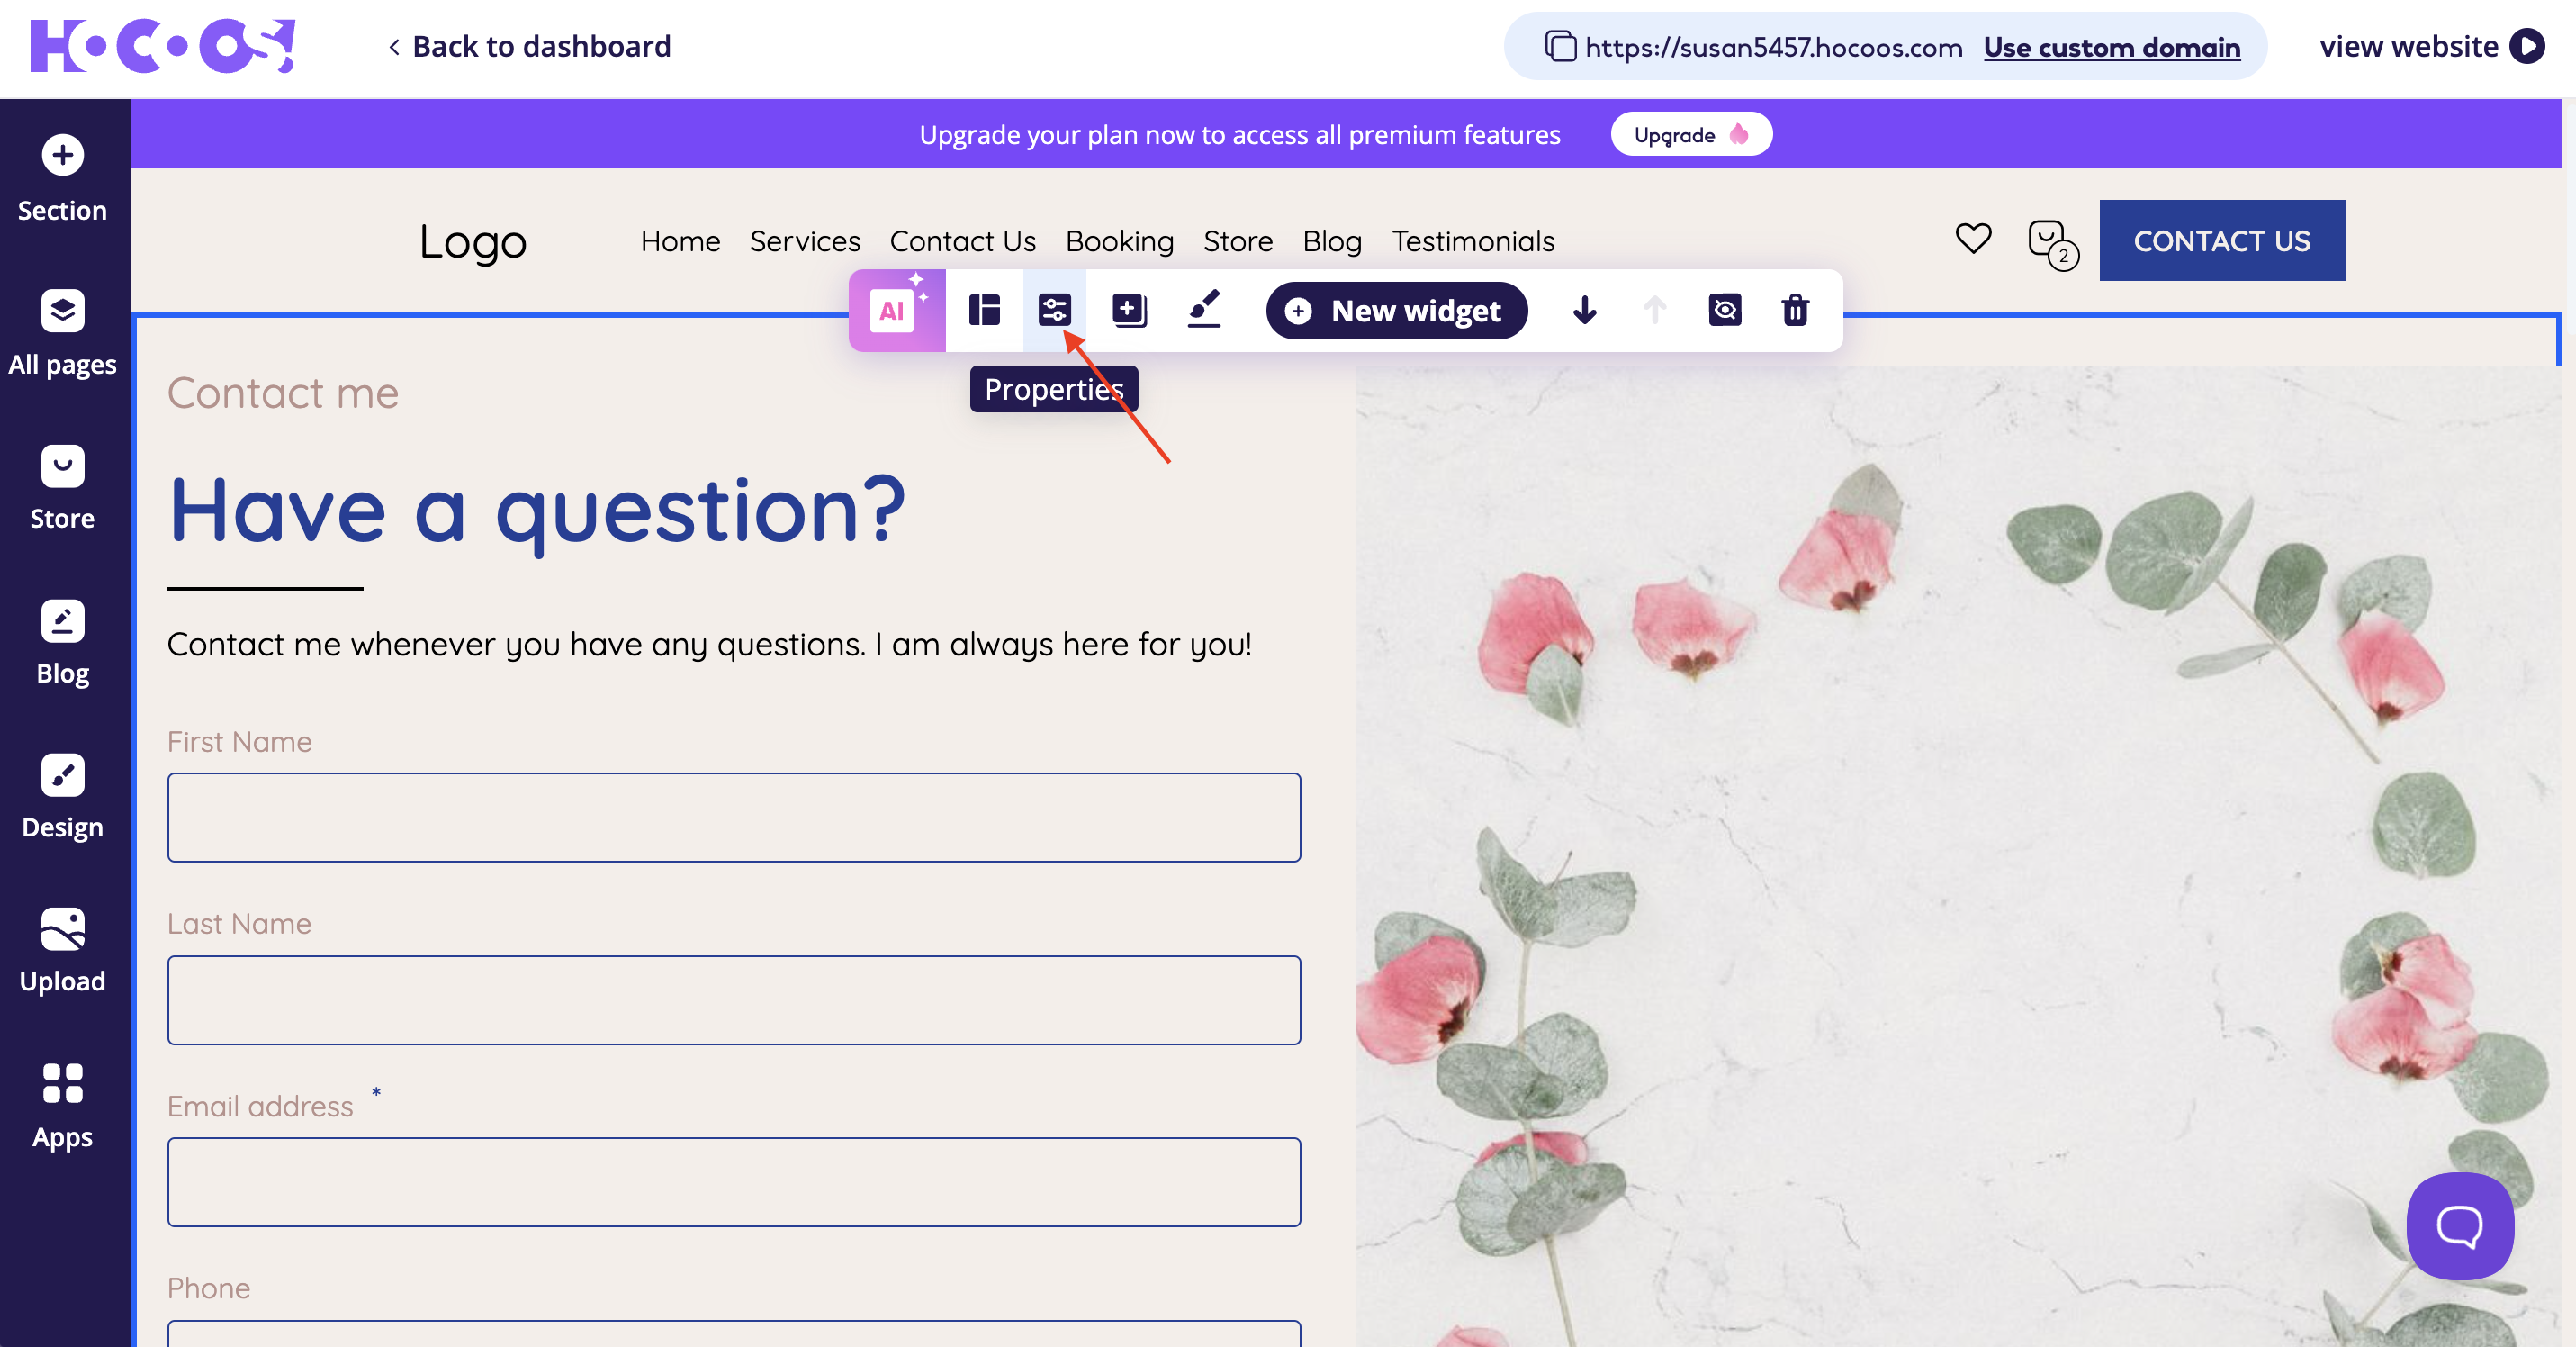
- Customize the Contact Form:
- Use the Widget Editor menu to customise the Contact form widget. Here you will find plenty of creative features.

The Properties button is crucial, as it holds the main features for your Contact form:
- Image icon allows you to change the image displayed in your Contact form (here you can put an image directly connected to the products or services you provide).

- Subtitle text, Title text and Description text fields are all editable. Put the tick into the checkbox near the field, if you want to view it. Remove the tick from the checkbox to hide the field.

- Contact form - the main block of the widget and the most important step to take. Here you can rename the fields and set some of them as mandatory (which gives you the opportunity to collect more useful information about your customers).

Tip: To rename the field click on it and enter a new name. Put the tick into the checkbox to label the field as mandatory, otherwise remove the tick from the checkbox to label the field as not mandatory.
- The Trash bin button gives an opportunity to remove all the fields that aren’t necessary. To add more fields use the Add Custom field button, located right under the Contact form block.

Tip: Pay attention when editing the fields in the Contact form - each field has its own required piece of data.

For example: I want to collect info on my client’s phone numbers, so I set a Phone field in the Contact form on my website and made it mandatory. Here I need to remember that the Phone field should collect only numbers or phones. Then I will open a dropdown and choose the right option.
Features of assigning the field as mandatory and adding custom fields in the Contact form are available only for Premium accounts.
- Button block allows you to change the Button label (button name), Confirmation title and Confirmation message texts.

Tip: Try to keep the button name short, so it will agitate to the certain action. Work on the Confirmation message text as it shows your attitude towards the customers. Make sure to click on the Save button!
- Test the Contact Form:
- Go to your website. Click the View website button and your site will be displayed.

- Locate the Contact Us page and click on it.

- Here you can test your Contact form, by filling it out with all the information required.

Tip: Make sure to enter the email address, to which you have access, and then click the Submit button (it can be your email account address as well).
If the information was received - the “Thank you” message will be displayed.

- Go to your mailbox (the one you use for System notifications). You will see an email from Hocoos, containing all the information left by the customer through your website.

You’re Done! Now you've hands-on experience in setting and customising a contact form on your website.
See Also:
- Mastering Widget Buttons: a Step-by-Step Guide
- How to Set up and Customise a Pop-up Contact Form on My Website?
Troubleshooting
If you run into issues while setting or testing your Contact form, here are some common problems and solutions:
1. I Didn’t Receive a Confirmation Message After Submitting the Contact form
- Possible Cause: There could be an issue with the form submission or a delay in server response.
- Solution: Try refreshing the page or clearing your browser cache. If the issue persists, contact support.
2. I Didn’t Receive an Email with Customer’s Contact Information
- Possible Cause: Perhaps you are checking the wrong email address.
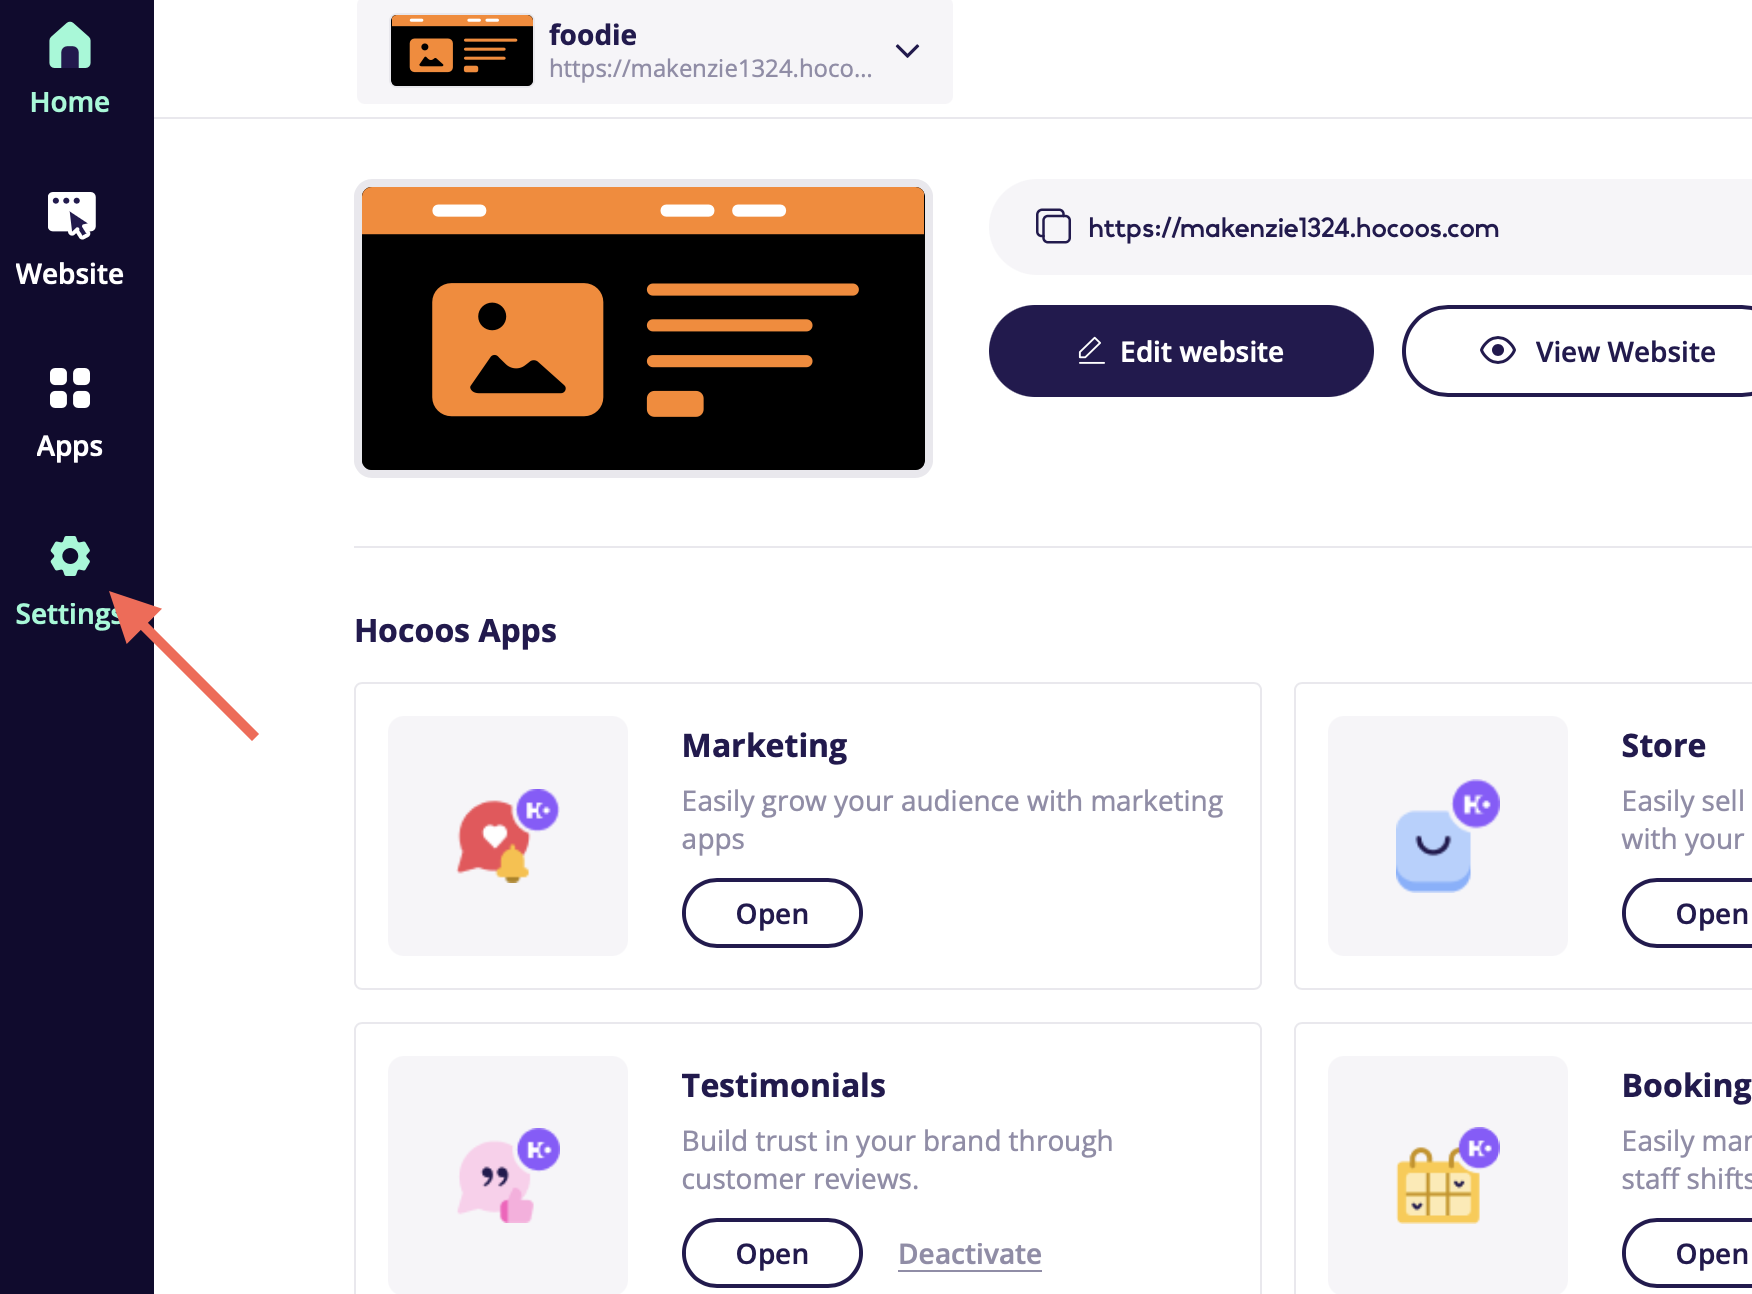
- Solution: Check the email address that is set for receiving the information from the Contact form. For doing that go to the Hocoos Dashboard and click on the Settings section.
Steps to Change the Email Address for System Notifications
- Access Your Website:
- In the Hocoos Dashboard, go to the Settings section.
- Go to the Notifications tab:
- Find the Notifications section in the menu and click on it.
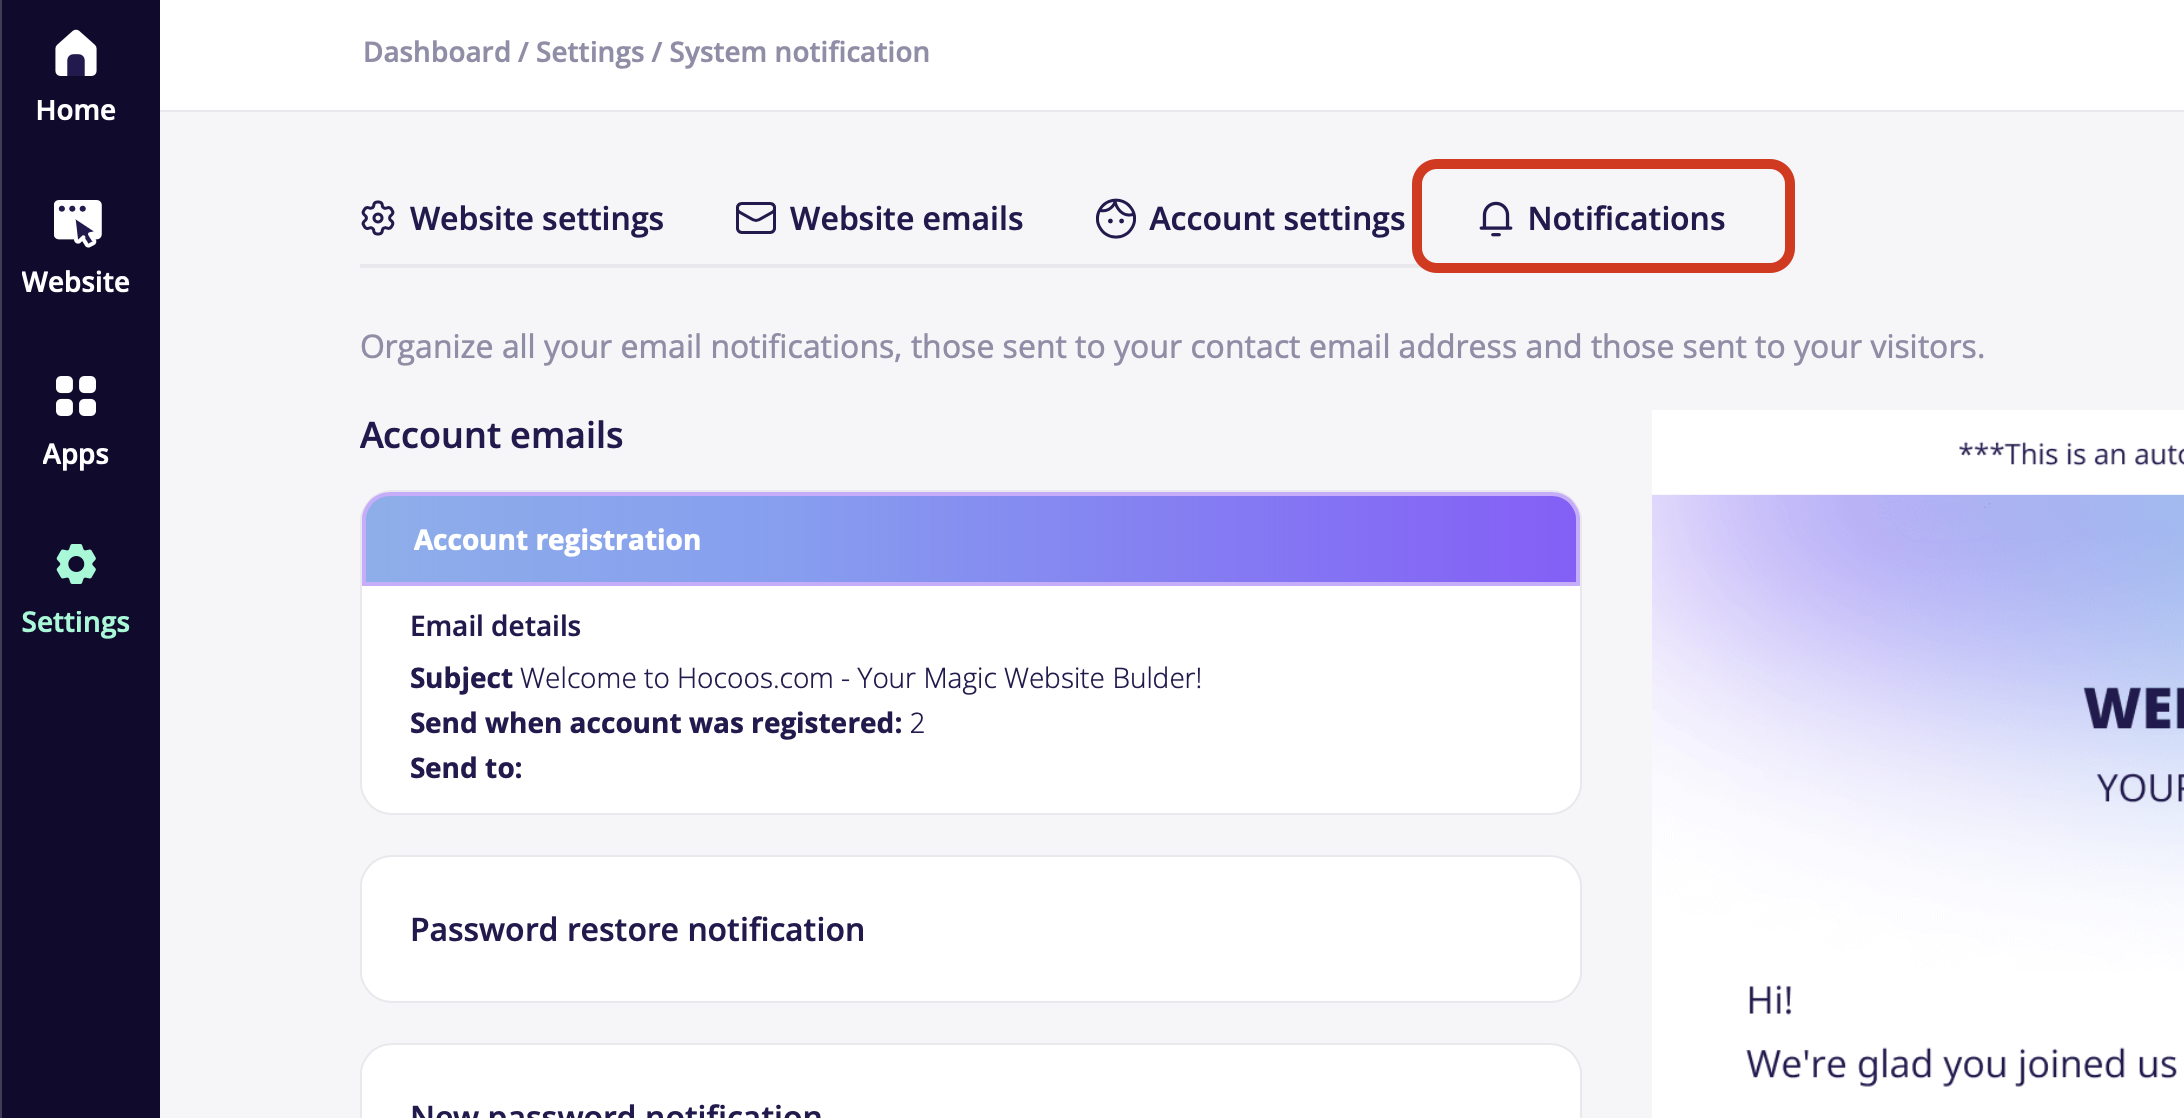
- Change the Email Address for Notifications:
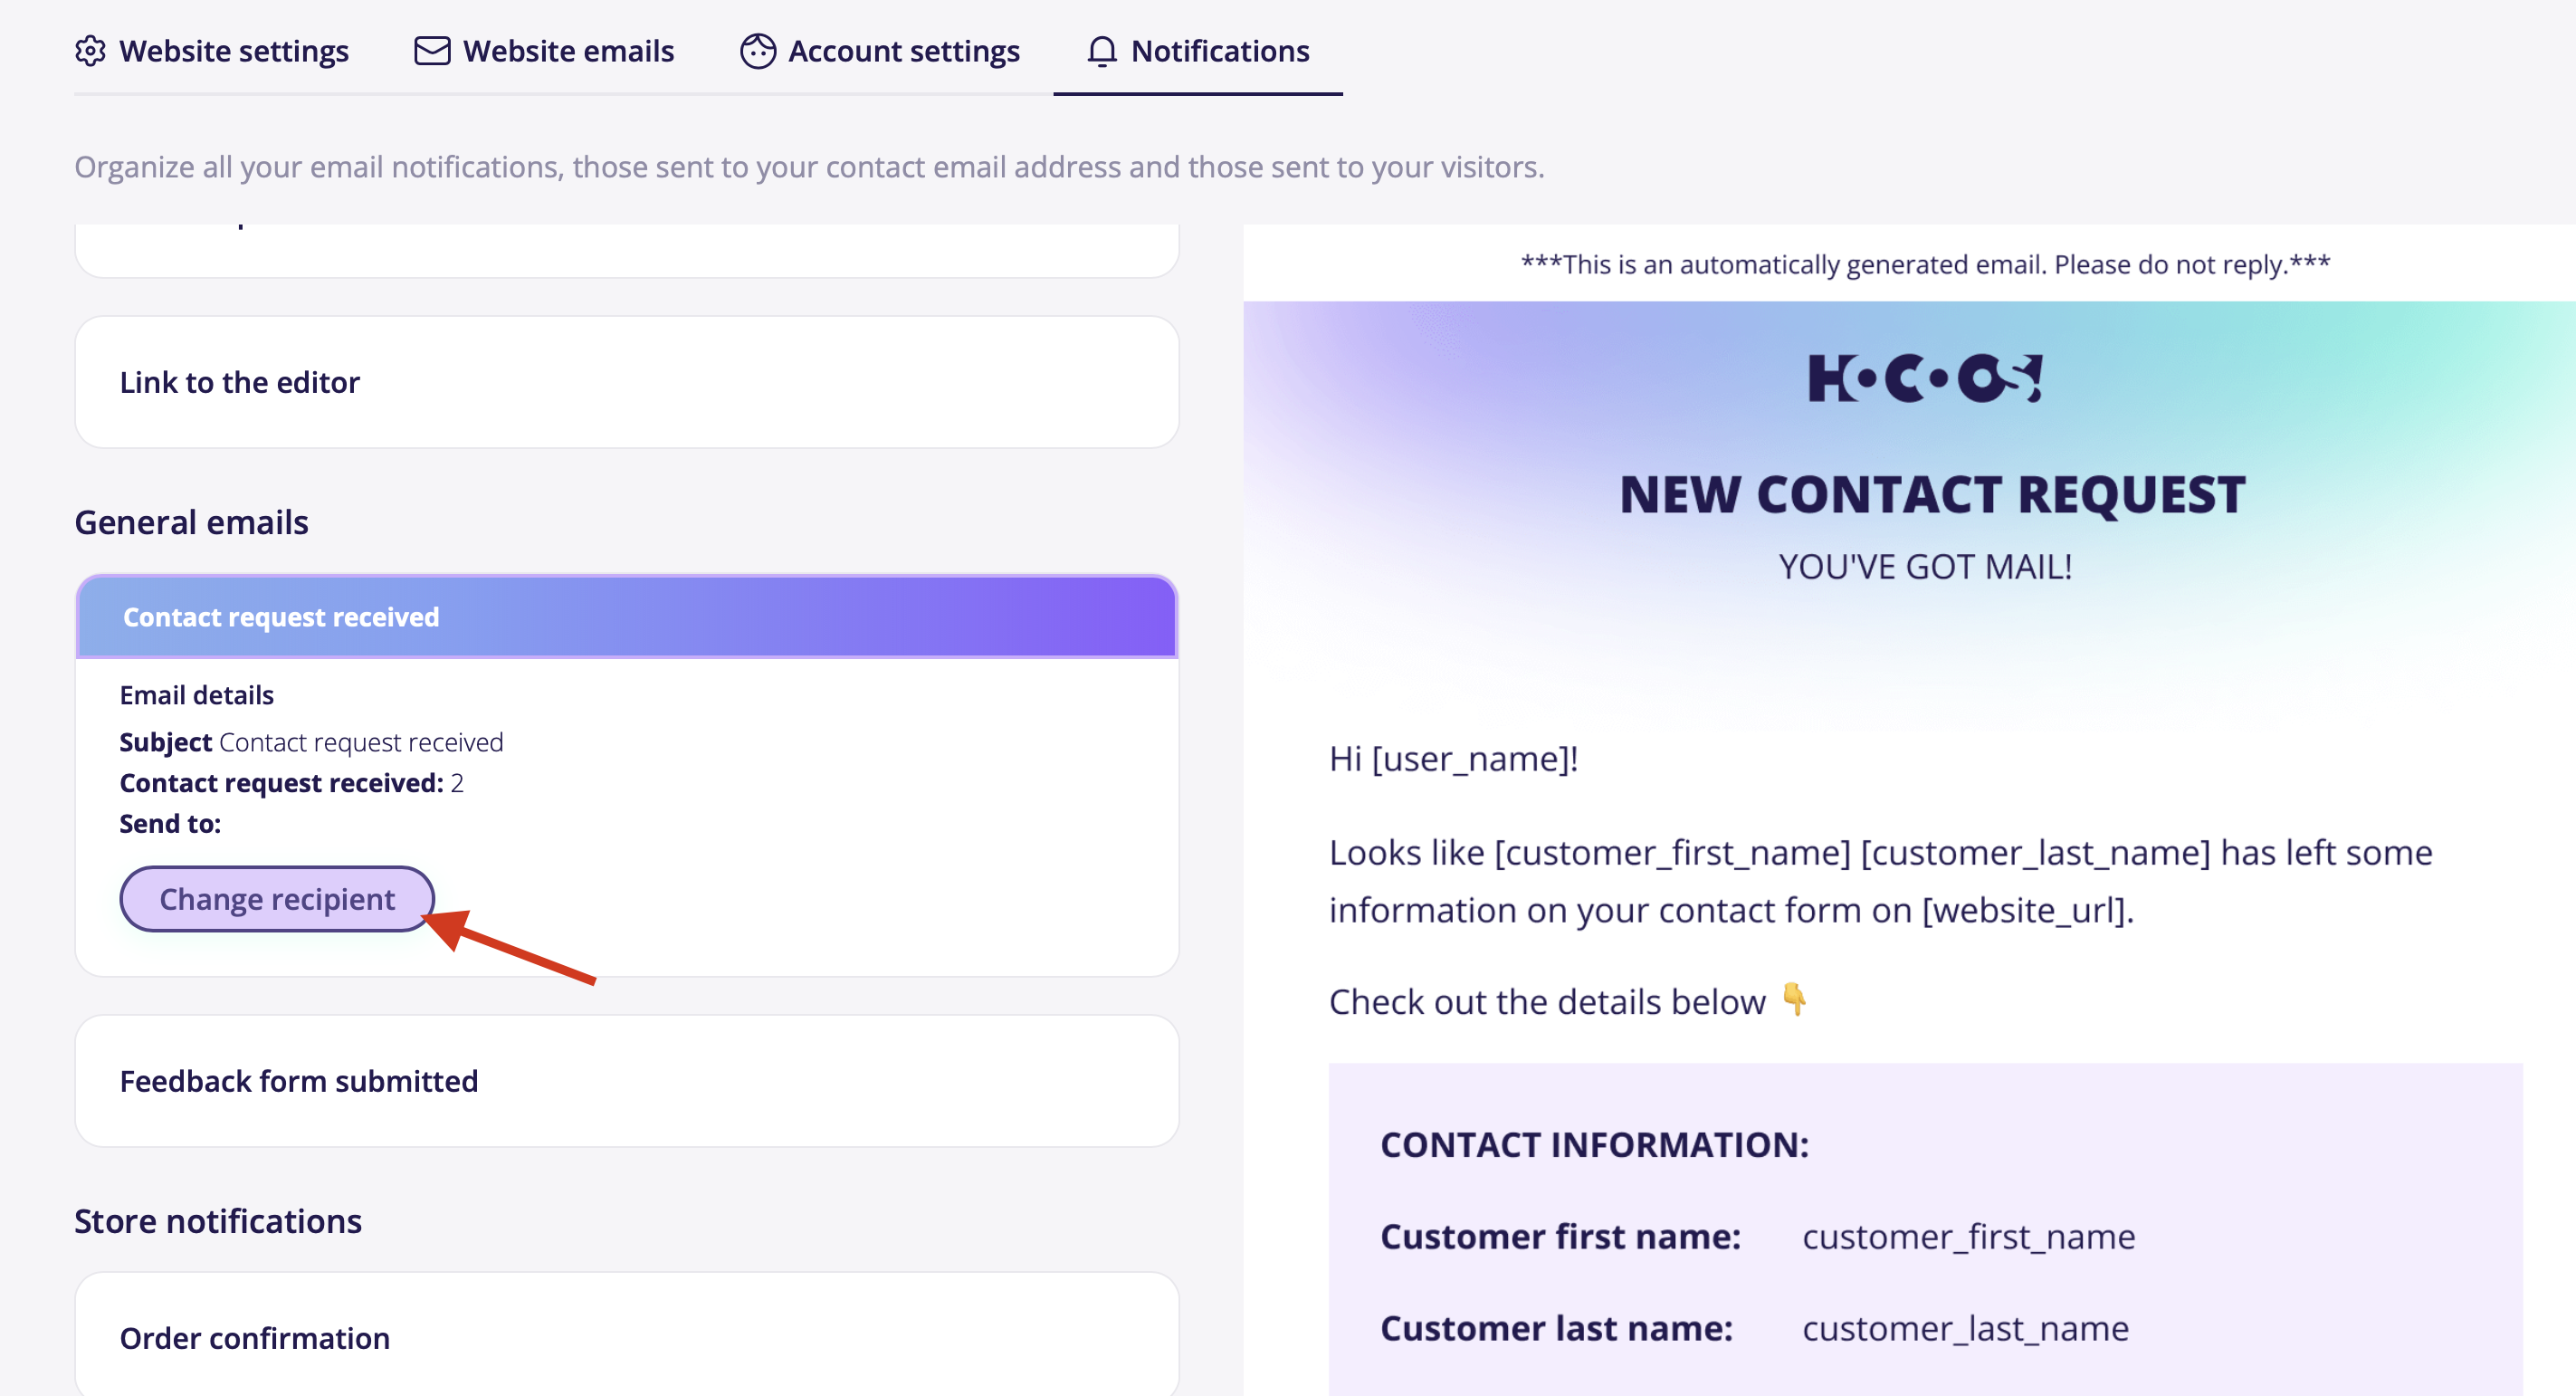
- Locate the General emails block and click on the Contact request received subsection.
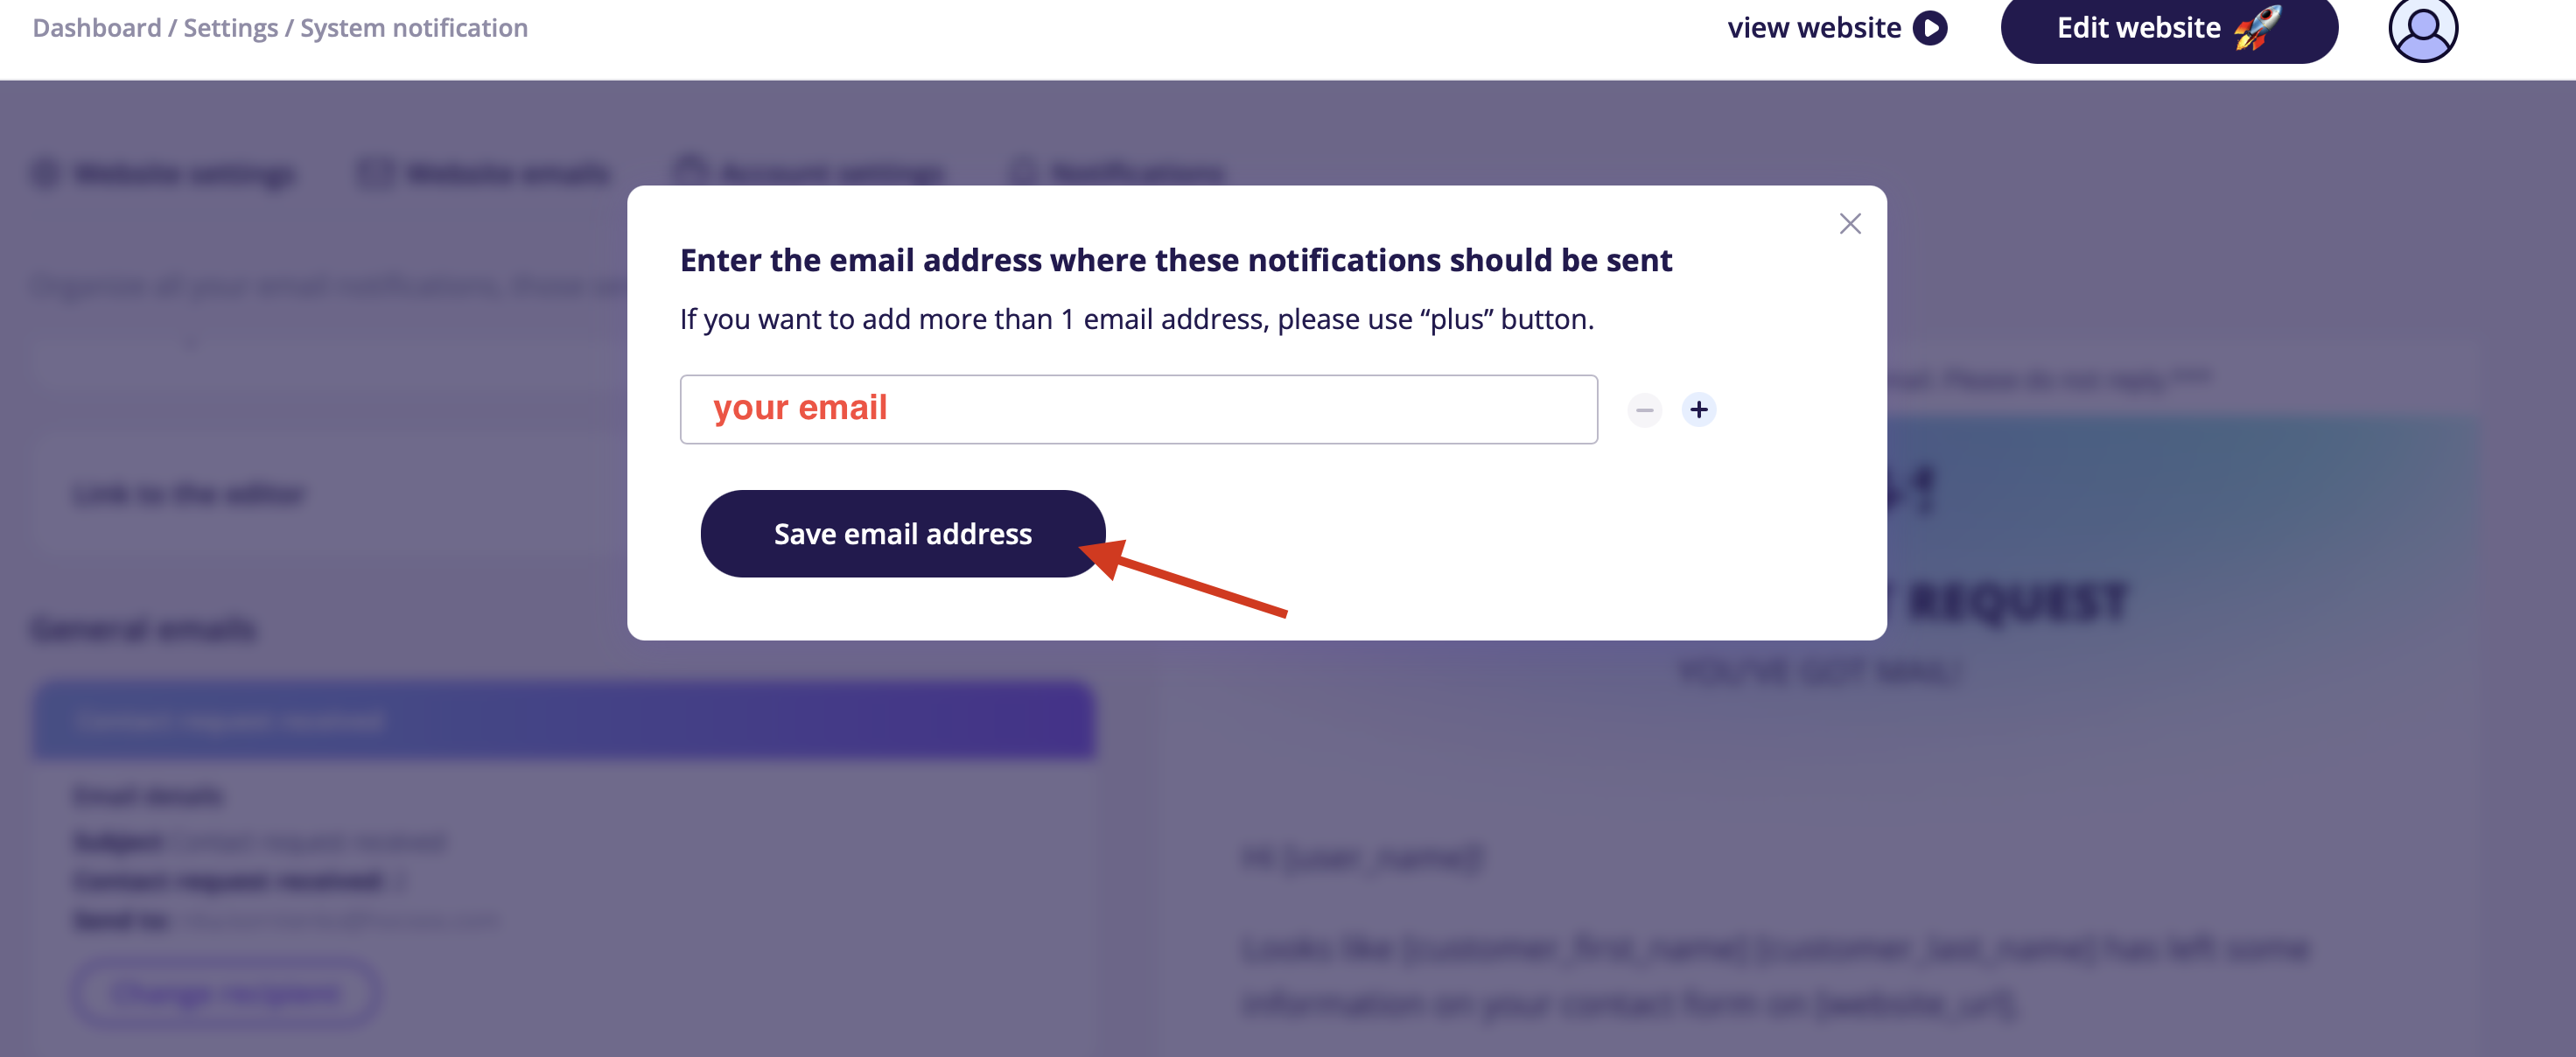
Tap on the Change recipient button to reassign the email address, where messages will be sent to.
For example: I run bed & breakfast and would like my receptionist to be the point of contact for guests. I'll set up my receptionist's email as the primary recipient for contact requests.
Please enter a new email address to be used for receiving Contact Request Received messages.
You can add up to 10 email addresses for your notifications.